Your 4 Tips to Make Better Jerky at Home
These mistakes have cost me THOUSANDS of dollars in wasted materials. Learn from my mistakes and make better jerky at home with what you already have in your kitchen.
Here are the Tips!
DON'T BE A ROOKIE AND MAKE THESE MISTAKES
PRO TIP #1 - Looking to make a drier jerky? Get out as much marinade BEFORE you start the drying process, here's how.
Most Jerky Recipes require a marinade. This helps to give the meat the desired flavor and infuses that flavor all through the meat as opposed to just seasoning on the outside.
What you may not know, is that the very same marinade may be making your jerky chewier, stickier and harder to dry to the right consistency. I have found that you can get a drier jerky texture by “squeezing” out extra marinade from your jerky before you dry it. The easiest way is to take your strips out of your marinade and wrap them in paper towels and squeeze them to get as much excess marinade out of the jerky that you can.
Dry your jerky the same as you would normally –keeping in mind that drying times differ for squeezed or not squeezed jerky. Test It: next time you make marinated jerky-squeeze out the marinade from half the batch and dry the other half as you normally would. See what you like better and adjust your next batch accordingly. After a couple of batches, you'll have it dialed in to be able to make it exactly how you like it on each and every batch!

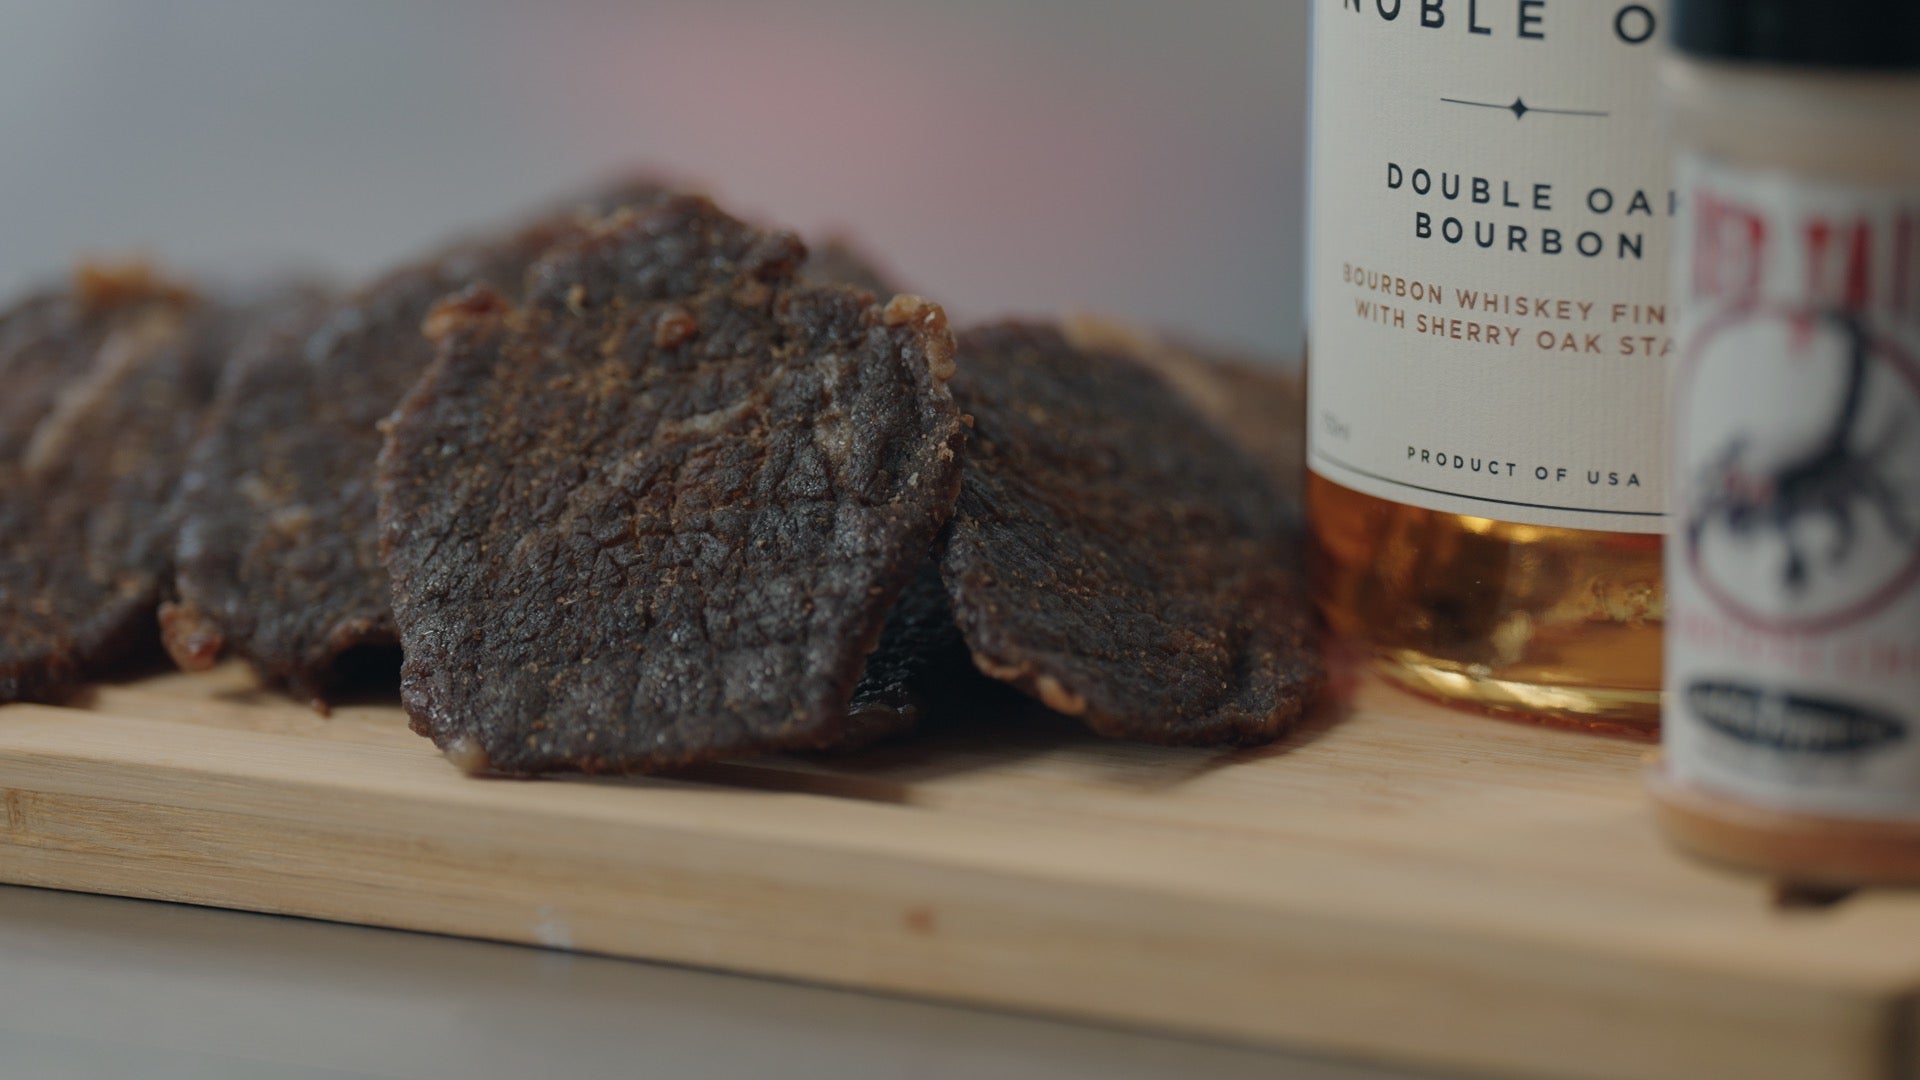
This is essentially our approach to how we make our Oklahoma Jerky Company line (it's the "old-fashioned style stuff"), we encourage you to check it and see if that's how you prefer your jerky.
2) What is the proper way to slice the meat? With or Against the Grain?
Die-hard jerky makers will disagree on this subject. The bottom line is that cutting with or against the grain depends on a lot of factors such as:
-
Type of Meat-some types you just don’t have a choice due to the size limitations of the cut (think poultry and fish). And if you weren’t thinking about poultry and fish jerky - you should...they make great jerky.
-
How Thick are Your Slices? If you go REALLY thin - like 1/16” - you may be better off going WITH the grain as against the grain may crumble. Side note: crumbling can also be an issue with more fragile types of meat such as fish.
-
Personal Preference- Do you like a stringier jerky or jerky that is easier to bite off pieces of? Go with the grain if you like a more held together jerky and against if you want something that is easier to get through with your teeth. Keep in mind that depending on the storage method with the grain jerky tends to hold up a bit better without falling apart.
Bottom Line: If you have enough meat - try both! Especially if this is your first batch. We ALWAYS recommend making a few smaller batches rather than one big batch so you can try a few different techniques. This ensures the greatest chance of success for finding the right recipe for you.
Pro Tip: Check out our approved Jerky Slicing Knife for an easy way to slice your meat without the huge investment of an electric Meat Slicer!
3) Going to make jerky in your oven? Here is one trick to get more jerky in per batch.
This trick may be one you’re already implementing but involves changing the orientation of your jerky from horizontal to vertical. The easy trick is to use toothpicks or shish kabob skewers stuck through one end of your jerky and hanging between your oven racks.

See how by hanging it, it allows you to get more meat placed while still allowing for maximum airflow all around the strips? Makes sense, right? Using this tip will get you more meat per batch than laying them flat!
4) The single most overlooked food safety item when making jerky? TEMPERATURE.
While modern animal processing has many safeguards to prevent against the transmission of foodborne illness - the USDA and federal government openly admit that raw or undercooked meat is just something they can’t protect you from.
When curing jerky as a method of preservation, the normal processes that would render meat inedible (bacterial growth and fungal contamination) are held at bay, keeping the food safe for consumption for an extended period of time. This method has been around for centuries and has long been the preferred process of preserving meat products (as opposed to freezing or using chemical treatments). That said, you need to get your meat hot enough to kill the bacteria that could be living therein. Unless you butchered the animal yourself – you are better safe than sorry in this regard. Trust Me! If you are making pork jerky (which is Delicious by the way) you have to be especially conscious of the internal temperature the meat reaches and how long it is there.
The bottom line is that the core temperature of 165 degrees Fahrenheit for at least an hour is the safest way to make your jerky. If you are using a food dehydrator- you may not be getting to a high enough temperature. Your health is nothing to take chances with. Please be conservative and visit http://www.foodsafety.gov/keep/charts/mintemp.html to learn more on your own.
That's it for now! These are just a few tips and tricks that will hopefully help you make more successful first batches. I'm trying to put together a list of how-to videos to go along with this email. Once I get them all uploaded, I'll send some of those to you, too.
We have a few, easy-to-use jerky making tools available HERE.
We are working on adding more. Hopefully, like these tips, our tools can help you get started in the right direction.
Thanks a million! Happy Jerky Making!
- The Jerky Making Pros at Jerky.com