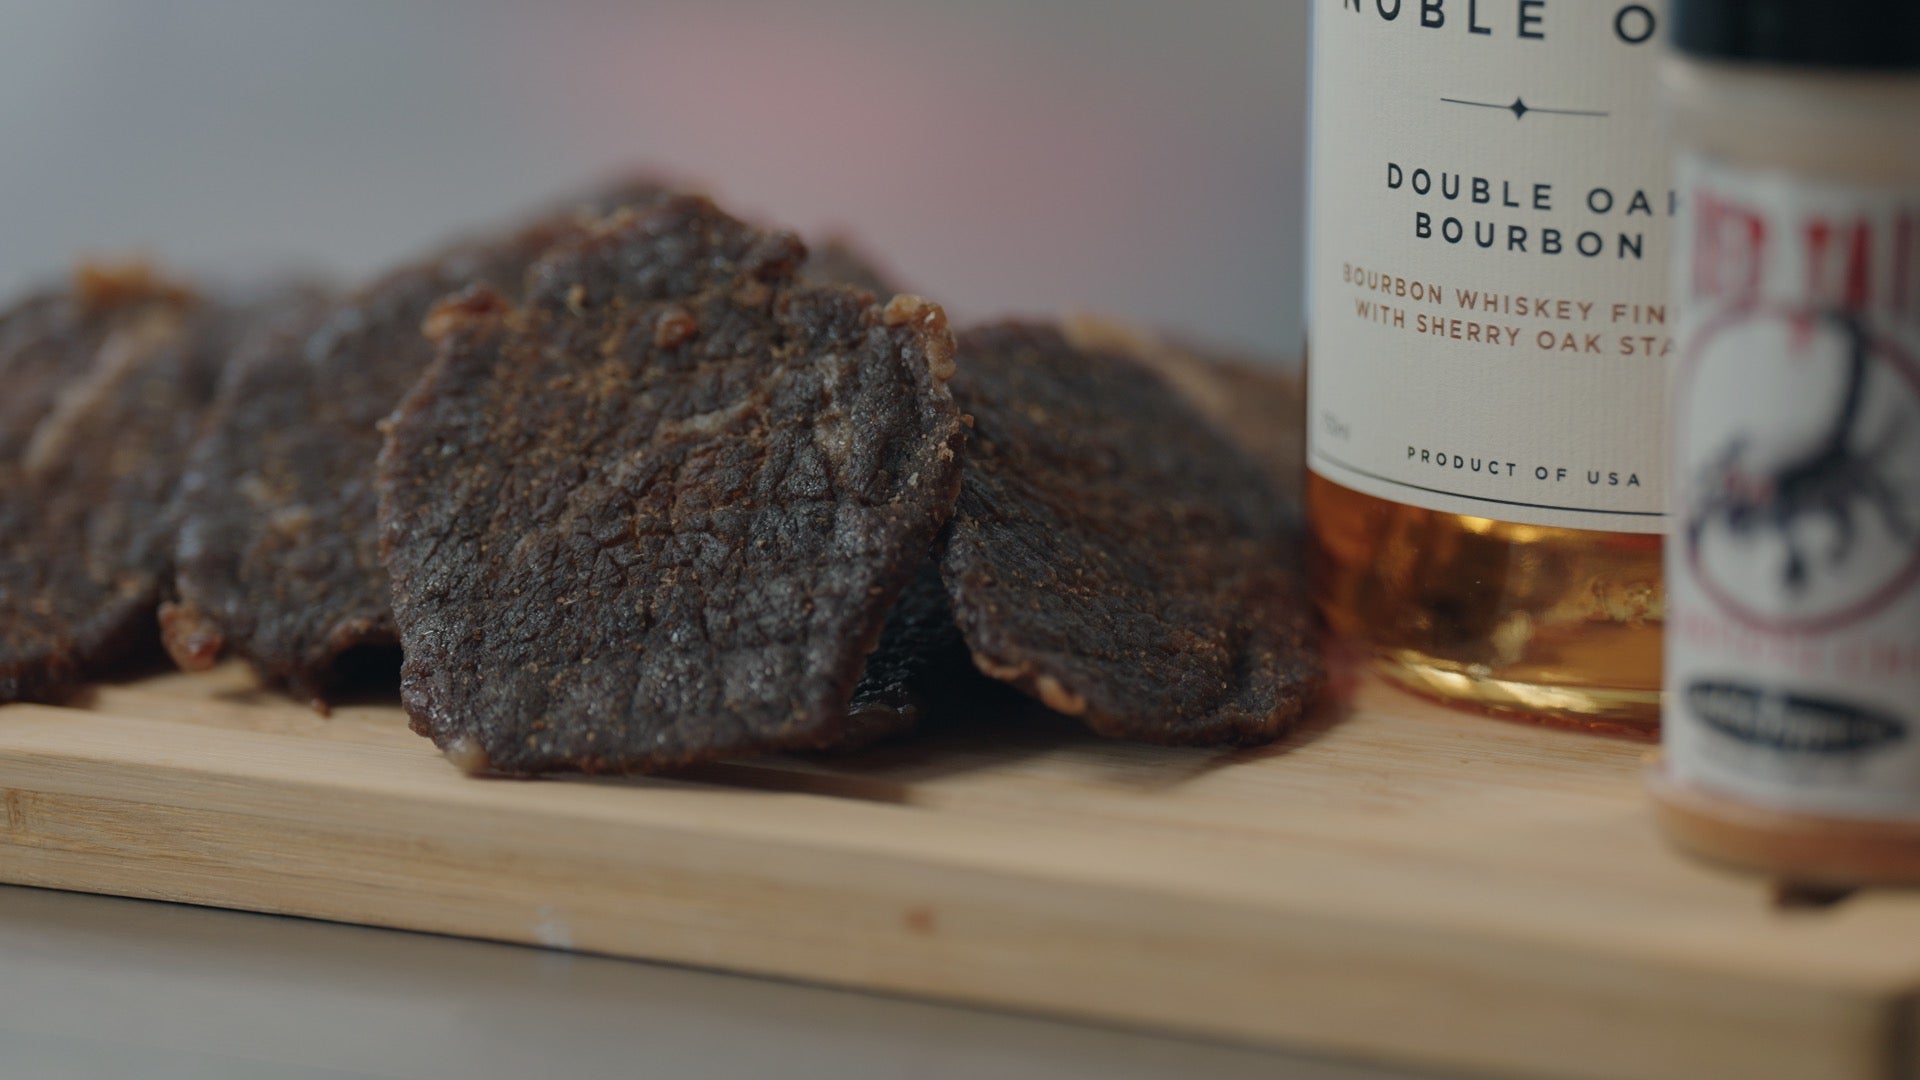
Step 4 - Dehydrate Meat in Oven and Dehydrator
Dehydrating food is basically the process of circulating warmed air across food to remove the moisture from it. By removing the moisture in the food, it doesn't give bacteria or other bad microorganisms what it needs to grow. This is what makes Jerky a great, shelf-stable product. There are several ways to remove the moisture from your meat. We are going to cover them here to help you figure out what works best for you. **Oven** This is probably the easiest way to make jerky, since everyone who has access to this site has access to an oven. The only additional equipment you'll need are a cookie sheet and some aluminum foil. Start by lining your cookie sheet with foil. This will ensure easy removal from the tray and easy clean up! Then lay your pre-seasoned meat strips out on your cookie sheet in a single layer and in rows. Don't cram a ton of meat on the sheet. You will want to make sure the pieces aren't touching each other to ensure maximum air flow around them. Depending on how your oven works, it is not uncommon for the center pieces on the sheet will dry slower. To ensure even dehydration in your batch, turn the pieces and you might want to rotate them with some of the pieces around the edge of the cookie sheet, too. Heat the oven around 165 degrees for anywhere from 10-14 hours while keeping the door propped open, which allows the moist air to escape the oven and keeps the oven from getting too far out of your ideal temperature range. **Tip - If using dehydrator or oven, pre-heat to 145 degrees for 15-30 minutes prior.** **Dehydrator** This is our preferred method to make jerky. A dehydrator is made with a heating element and an electric fan designed to work together to circulate warmed air across the meat. Dehydrators are much more effective at this than most conventional ovens or other heat sources, so it is much easier to make a consistent product with a dehydrator. This allows fast, even drying with little risk of food spoilage. Look for a unit with a high wattage fan and a timer for best results. Without a timer, the first time you do a batch of jerky at a time of day that requires you to get up in the middle of the night to shut the dehydrator off, you'll be wishing you did! Dehydrate at 160 degrees anywhere from 6-18 hours rotating trays every hour. **Smoker** Who doesn't like smoked meat? I'll tell you who...no friend of mine! Using a smoker will provide your jerky with a more traditional, smoked flavor. A smokers heat source can be from a handful of sources, including: an electric heating element, charcoal and wood chips. Wood chips and charcoal will need to be added regularly to keep producing the amount of heat that is required for the length of time to properly smoke your jerky. If this will be too challenging for you, you might consider using an electric heat source. Light your charcoal in a chimney lighter. Usually, 8-10 pieces will be about right to get you going on a normal sized batch. When the charcoal is ready (turned ashey grey on the outside) put them inside of the fire pan and then get to hanging your jerky! To keep the heat going, add a few pieces of charcoal every 40-60 minutes or as needed. Pay attention to the thermometer! Once you get it to temperature, add your soaked wood chips or other pre-packaged packets. While you can use pretty much any type of hard wood to smoke with, Hickory and Mesquite seem to work best. Once you get to smoking...let it smoke pretty well for 2-3 hours. Afterwards, you can quit smoking it and let it finish drying for another 2-3 hours keeping it at the same temperature. Start checking it regularly somewhere around 4-6 hours into the whole process until it ends up just where you want it! **Microwave** While microwaving jerky is not a common method, it is still doable. However, be aware that it may cook the meat more than it may dry it out. Place the meat strips in a microwave roasting rack. Set the microwave on high for 4 to 6 minutes. After 4 minutes add time in 30-second increments until desired consistency. Traditionally, the idea is to have a dried jerky. This means a color change from brown to dark brown, and a consistency in the meat that has changed from supple to leathery in its texture. **Sun Drying** While sun drying has been around for a long time, it is not a good method for jerky today. However, if you are an experienced jerky maker, a PROFESSIONAL, and truly understand what is required, lean beef, young lamb or venison are able to be sun-dried. Fish should not be unless it is heavily salted, although without proper experience, this can still be very risky and poultry should NEVER be sun-dried. To successfully sun dry meats, you should live in an arid, hot, sunny and windy area, optimal conditions that are hard to find. Please remember, when sun-drying, you put yourself at risk for food poisoning. Additional Tips: - Whatever method you chose, do not place your racks so that one layer can drip on another. The time it takes to dry the meat will depend on the thickness, as well as, the temperature at which the meat is being dried. When you think your jerky is done, it should bend but not break and be a much darker color. - We recommend that you check your jerky often until you get an idea of how long your particular method and equipment takes to get your jerky exactly how you like it. So, be sure to check your jerky often. Do not rely on the times given.